How to register User groups
Available at:

This article explains how to create, configure and link user groups on Demander, allowing you to control permissions and access within the platform.
What is a user group?
Section titled “What is a user group?”User groups determine which screens and permissions each user can access in Demander Web. The same user can have several linked groups, adding the releases of each one. For example: if one group allows access to a screen and another does not, the user with both groups will have access, as the permissions are complementary. Furthermore, groups also help to limit access and define hierarchical levels within the system.
Differences between releases
Section titled “Differences between releases”There are two main types of users: Company and Seller.
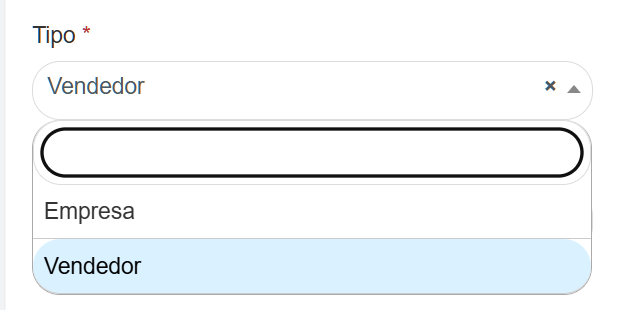
- A Company user has access to all the screens that a salesperson has — plus some exclusive ones.
- A Seller only sees their own data, while the Company user can see information from all users.
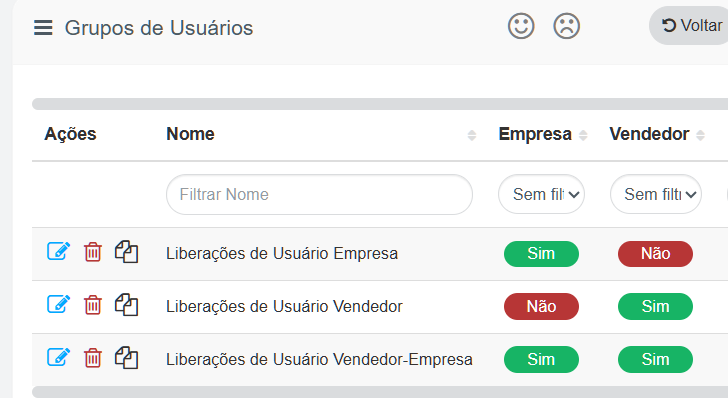
Each user group can be configured as Company, Salesperson, or both. However, when a group is released for both types, Company type permissions may be limited.
💡 Find out more in the article: Difference between Seller and User.
Demander default groups
Section titled “Demander default groups”Demander already has pre-created groups:
- Lite → for Business type users
- Seller → for Seller type users.
- The Seller group cannot even be added to a user, only automatically registered users can receive this group)
These groups already come with defined permissions and cannot be changed. If you need to customize releases, you will need to create a new user group.
How to register a new group
Section titled “How to register a new group”-
In Demander Web, access the User Groups screen. (Default groups do not appear on this screen.)
-
Click New.

- Fill in the group name and define the user type (Company or Salesperson).

- Select the screens and permissions you want to release:
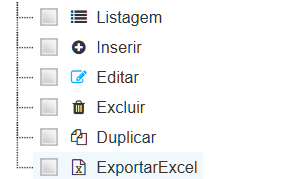
- Listing: allows you to simply view the data on the screen, without making interactions or changes.
- Insert: displays the “New” button in the top right corner, allowing you to create new records. 💡 In Orders, this option enables the seller to register new orders on Demander Web.
- Edit: allows you to access and modify existing records. 💡 Changes to fields may vary depending on Field Requirements and specific screen settings such as Customers and Orders

- Delete: **allows you to delete the registration, making it impossible to recover it later

- Duplicate: allows you to copy an existing registration, making it easier to fill out. (Not all screens have this option.)

- Export to Excel: generates a spreadsheet based on the visible columns and filters applied on the screen, accessible from the top right corner.
How to link in user registration
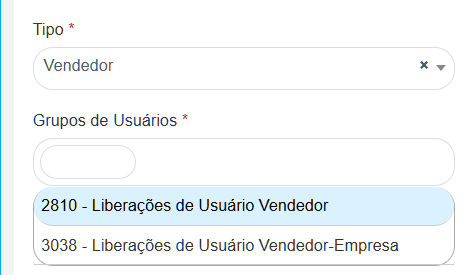
Section titled “How to link in user registration”After creating the group, access the [Users] screen (https://sistema.demander.com.br/users) and find the desired user. Edit the registration and, in the Group field, select the group created.
⚠️ The group will only appear if the configured type (Company or Salesperson) is compatible with the user type.