

How to register orders on Demander
Available at:


This article aims to explain how orders are registered through Demander.
Pre-Registered Information on Demander
Section titled “Pre-Registered Information on Demander”To register an order on Demander, it is essential that some information is previously configured in the system. This information will allow the seller to make the necessary selections during the order entry process.
Among the data that must be registered are:
- Type of Order (e.g.: Sale, Consignment, Exchange);
- Customer: complete data on the customer that will be served;
- Price List: defines the values applied to products;
- Products: updated record of items available for sale.
Other fields can also be configured according to the company’s needs, such as:
- Type of Shipping;
- Payment Method;
- Payment Condition;
- Carrier.
Mandatory Fields on the Order Screen
Section titled “Mandatory Fields on the Order Screen”In Demander, it is possible to customize the fields displayed on the order screen, in addition to defining which of them will be mandatory for completion.
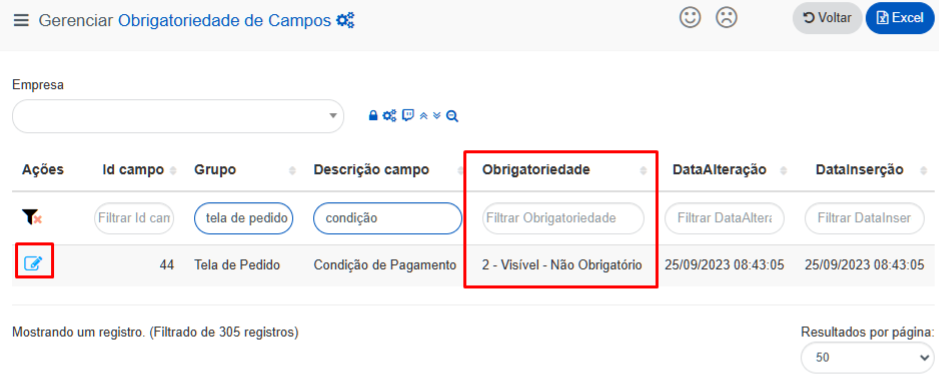
This configuration can be done in Demander Web, through the [Field Requirement] screen (https://sistema.demander.com.br/dinamico/obrigatoriedade-campos), where the fields can be adjusted according to the company’s specific needs.
Example: If the company decides not to use the Payment Condition information, it is possible to hide this field, preventing it from being displayed to the seller during order registration.
Steps for Registering an Order
Section titled “Steps for Registering an Order”The process of registering an order on Demander consists of three mandatory steps:
1. Order Data
Section titled “1. Order Data”In the first step, basic information about the order is filled in. In this tab, you can:
- Register the order customer;
- Select the type of order;
- Define the price list to be used.
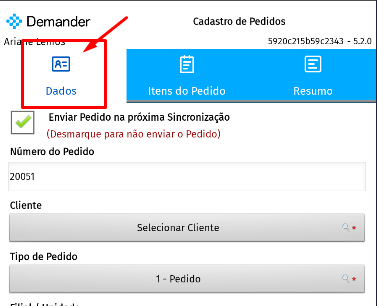
Other optional or mandatory fields may appear depending on the configuration of the Field Mandatory screen, such as:
- Branch;
- Payment Method;
- Payment Condition;
- Freight;
- Order Observations;
- Redespatch;
- Transport company, among others.
2. Product Insertion
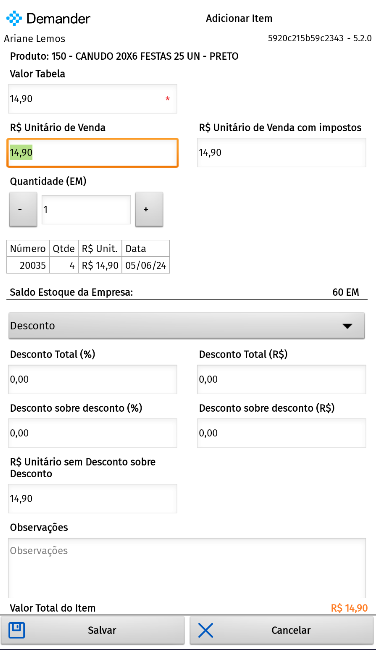
Section titled “2. Product Insertion”In this step, order items are added.
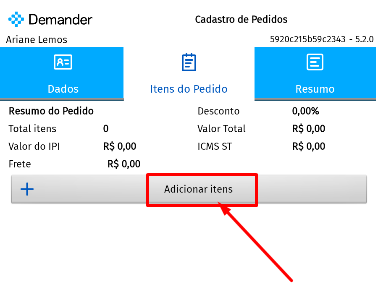
When clicking on the “Add Items” option, the list of products corresponding to the price list selected in the previous step will be displayed.
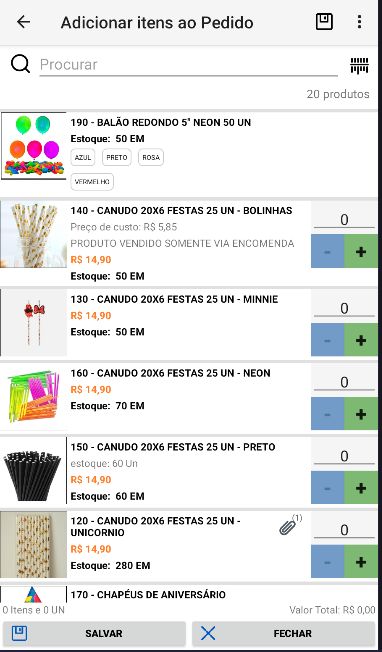
- It is possible:
- Add products directly from the listing;
- View product details by clicking on them (descriptions, additional information, etc.);
- Apply discounts or additions to order items.
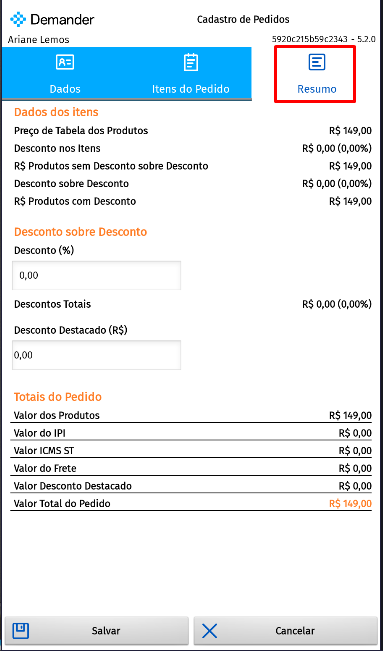
- Order Summary
The third and final step presents the order summary, displaying information such as:
- Total order value;
- Discounts applied;
Additional details (such as taxation and order weight, if additional modules for these calculations are configured in Demander).
Order Export
Section titled “Order Export”The order export process on Demander varies depending on the platform used.
Android and iOS Native
Section titled “Android and iOS Native”When an order is completed, it is only saved on the seller’s device. In order for it to be sent to Demander Web and, subsequently, to the ERP, the option “Send Order in the next Synchronization” must be selected.
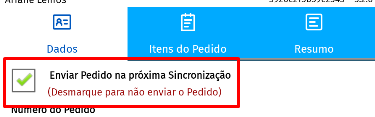
Steps to submit the order:
- Check if the Send Request at Next Sync option is activated;
Access the “Synchronize” button in the application to send saved orders.
Flutter and Demander Web
Section titled “Flutter and Demander Web”On the Flutter (new ordering interface in iOS) and Demander Web platforms, the process is different:
There is no option to mark it for sending in the next synchronization. When completing the order, two options are available:
- Save: the order is saved in Demander, but is not sent to the ERP. Saved orders can be edited or deleted later.
- Finalize: the order is sent to the ERP for billing.
Video teaching how to place an order on Demander Web
Section titled “Video teaching how to place an order on Demander Web”Order D