

Difference between Seller and User
Available at:

In Demander, Seller (Salesperson) and User represent distinct access profiles, even though they are directly connected. Understanding this distinction is essential for properly managing access, permissions, and teams.
What is a Seller and what is a User?
Section titled “What is a Seller and what is a User?”The main practical difference between the two registrations lies in the operating environment and the purpose of each profile:
- Seller: The operational profile dedicated to sales professionals. The seller uses the mobile application (Demander Mobile on Android or iOS) to look up products, issue orders, record visits, and manage customers and routes in the field.
- User: The browser-based management account for Demander Web. Used for administration, general settings, reports, registrations, and tracking operations.
To learn how to log in to each environment, see: How to access the platform?
Automatic Link between Seller and User
Section titled “Automatic Link between Seller and User”There is a direct integration between both entities in the system:
Every seller is a user, but not every user is a seller.
When registering a new Seller in Demander Web, the system automatically creates a User with the same login and password. This gives the professional access to both the mobile app and Demander Web to view their own records.

⚠️ Password Synchronization Rule
Section titled “⚠️ Password Synchronization Rule”The automatic synchronization of credentials works in one direction only (Seller → User):
- If you change the password in the Seller registration, the corresponding User’s password is automatically updated as well.
- If you change the password directly in the User registration on Demander Web, this change will not update the mobile app password, preventing the seller from logging into the app.
User Types on Demander Web
Section titled “User Types on Demander Web”When accessing Demander Web, users have different visibility and permission levels depending on their classification:
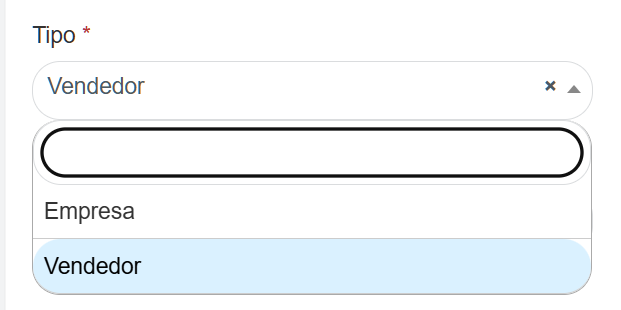
-
Company User:
- Administrative profile for company staff (directors, general managers, finance, billing, support, and IT).
- Has visibility over information across the entire organization and access to global settings and exclusive modules.
-
Seller User:
- Profile created automatically when a seller is registered.
- Has restricted access: can view only their own orders, customers, quotes, and reports in Demander Web.
User Management and Permissions
Section titled “User Management and Permissions”User management is handled in Demander Web under the Users menu.
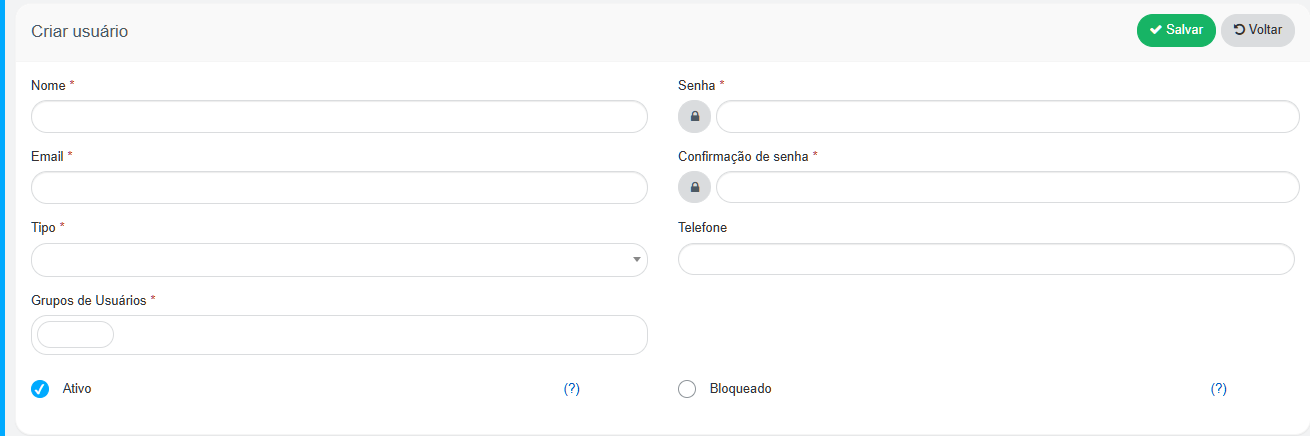
- Administrative users (non-sellers): If your company needs to provide access to internal staff who do not issue orders in the mobile app (e.g., credit review or shipping departments), create the user directly in the Users screen.
- Unlocking access: If a user is locked out due to repeated incorrect login attempts, unlocking is performed on this screen.
- Screen permissions and access levels: Detailed control over which pages and actions each user can view is managed via User Groups.
Where to Perform Each Registration?
Section titled “Where to Perform Each Registration?”- To register sellers: The complete step-by-step practical procedure with all tabs, parameters, and commercial permissions is centralized in:
👉 Seller Registration - To register web-only administrative users: Go directly to Users in Demander Web.
- To organize sellers into teams: See Registering Sales Teams.