Configuring integration with Omie ERP
This document presents the necessary configurations for the integration of Demander with ERP Omie.
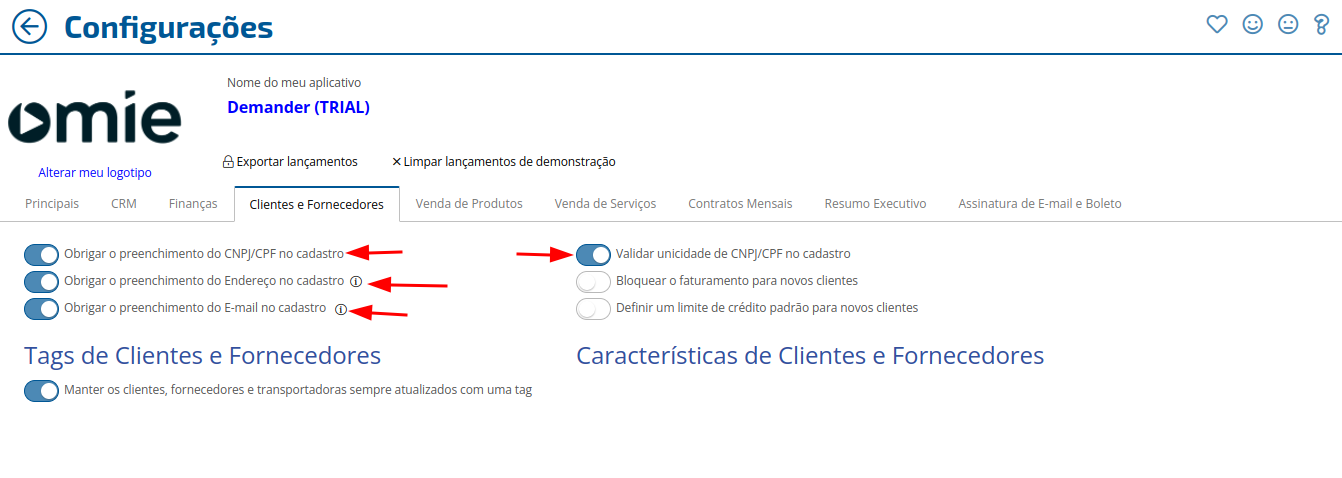
The configuration of integration with Omie is carried out on the System Registrations  Omie Integration screen. Activating Integration with Omie: Before starting an integration, make sure that the settings below are active in Omie, as this is essential to avoid possible integration errors.
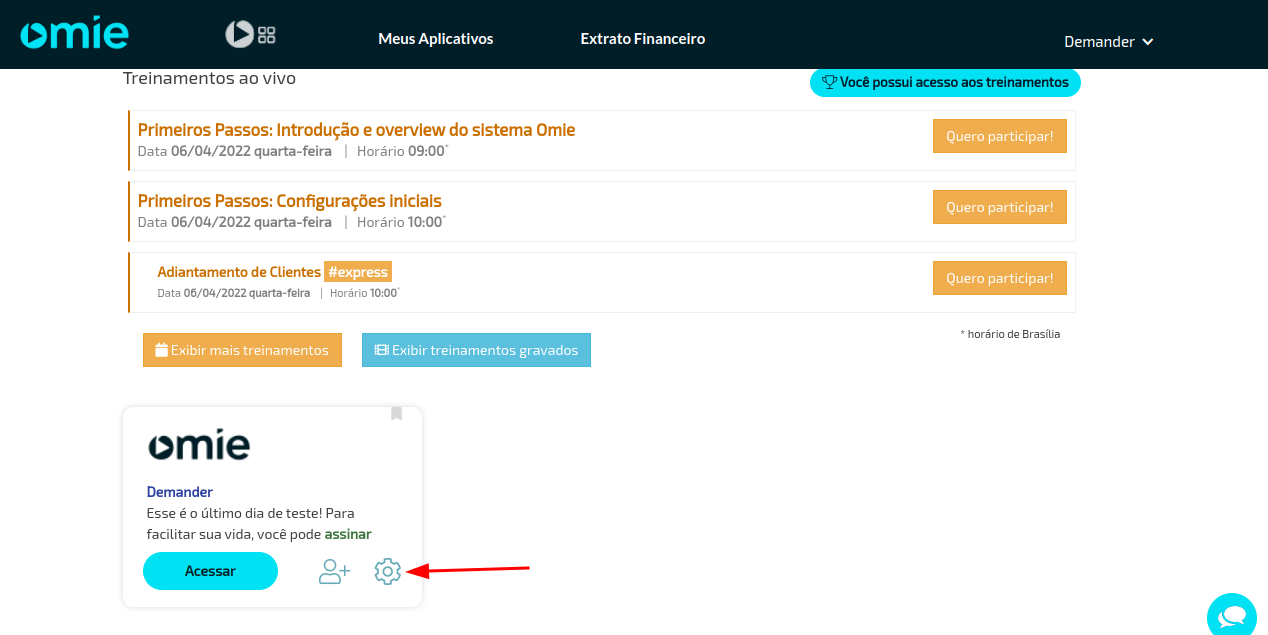
When logging into Erp Omie, select the configuration gear.
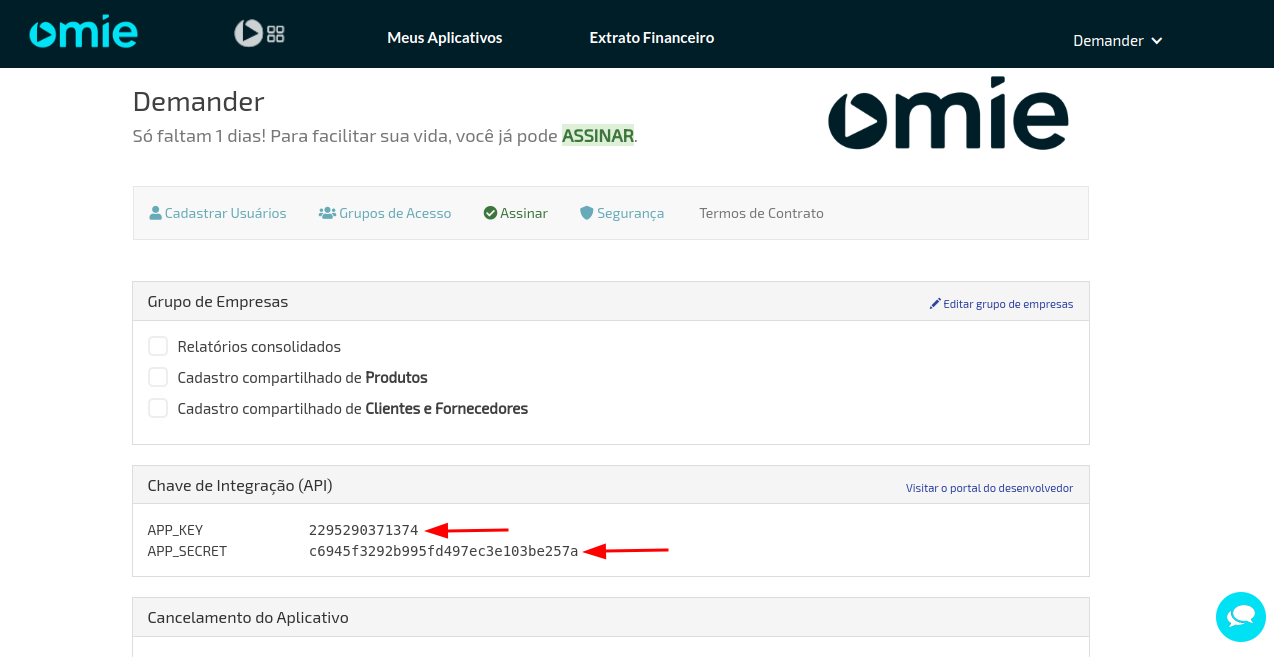
Then, copy the “APP_KEY” and “APP_SECRET”.
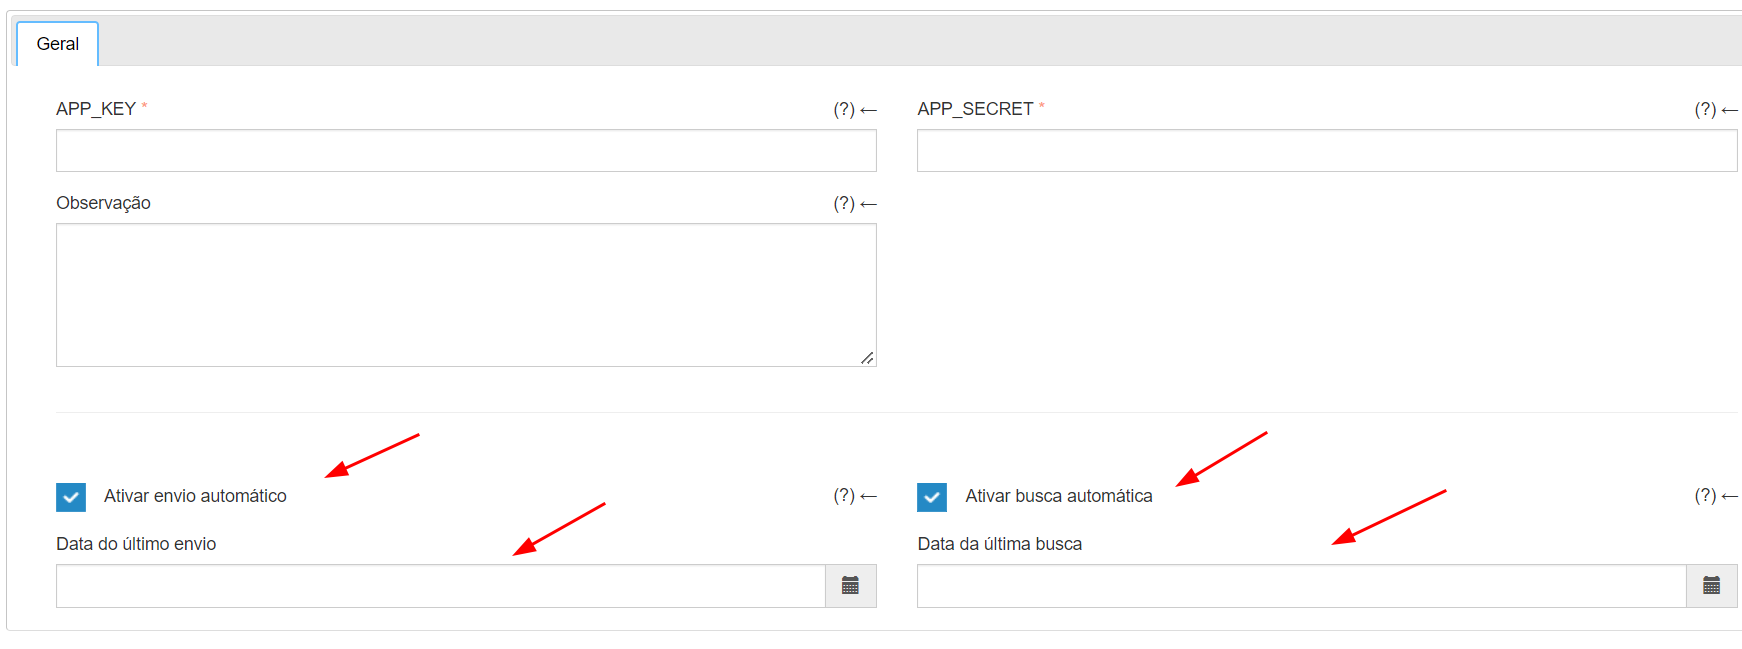
On the [Omie Integration] screen (https://sistema.demander.com.br/dinamico/integracao-omie), enter these keys in their respective fields in Demander and save the configuration.

After saving, a “Current Account Configuration” tab will be created. At first it will be empty. The next step is to perform the first Omie data search.
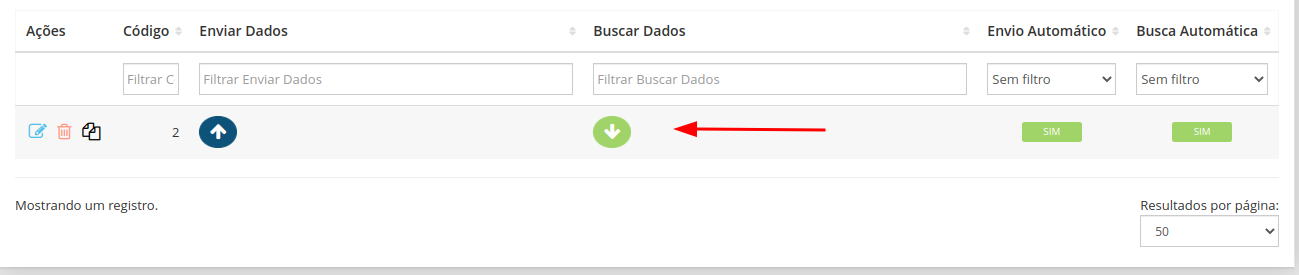
With the first import carried out, you must make the settings in the “Current Account Configuration” tab, to do this, read the topic below.
Current Account Configuration:
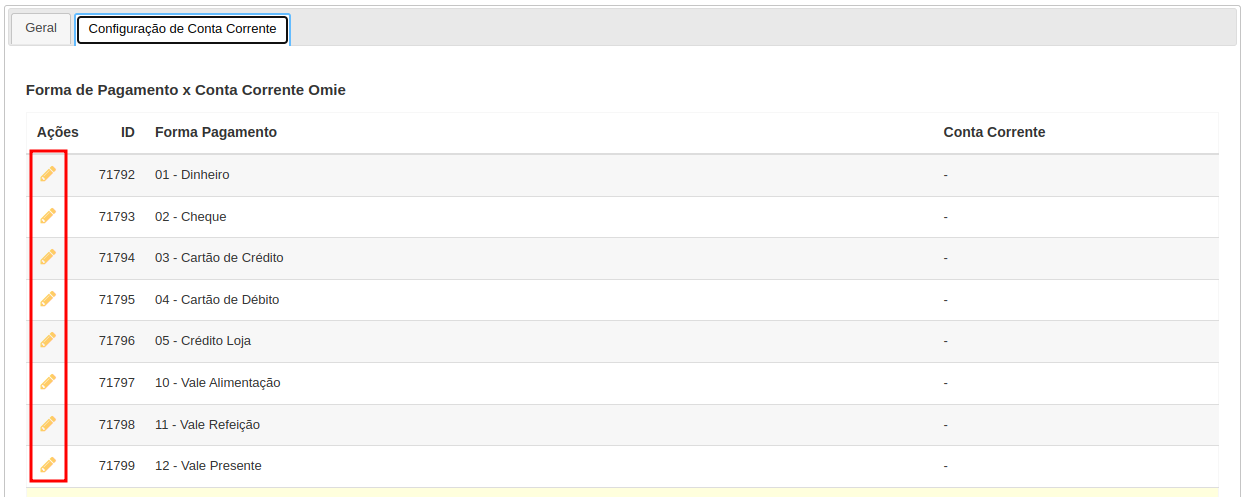
Section titled “Current Account Configuration:”In the “Current Account Configuration” tab, the Current Account that will serve the Payment Method must be configured. To do this, select the edit icon.
Now just select the Account that will be associated with the Payment Method.
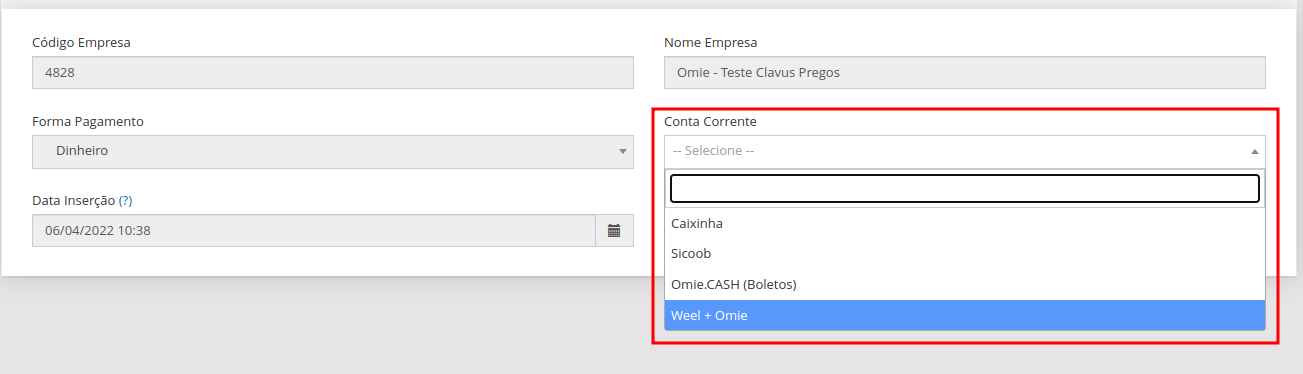
Attention: This configuration is mandatory for each payment method that will be used by the company, as when exporting orders, the current account selected according to the payment method for the order is sent.
Section titled “Attention: This configuration is mandatory for each payment method that will be used by the company, as when exporting orders, the current account selected according to the payment method for the order is sent.”Order Status Configuration
Before placing a new order, it is necessary to configure its status.
The steps to correctly carry out the configuration are:
- Go to the Order Status tab.
- Click on new and fill in the fields three times in a row to configure the statuses RECEIVED IN ERP (code 10), CANCELED (code 20) and *** INVOICED (code 30)***.
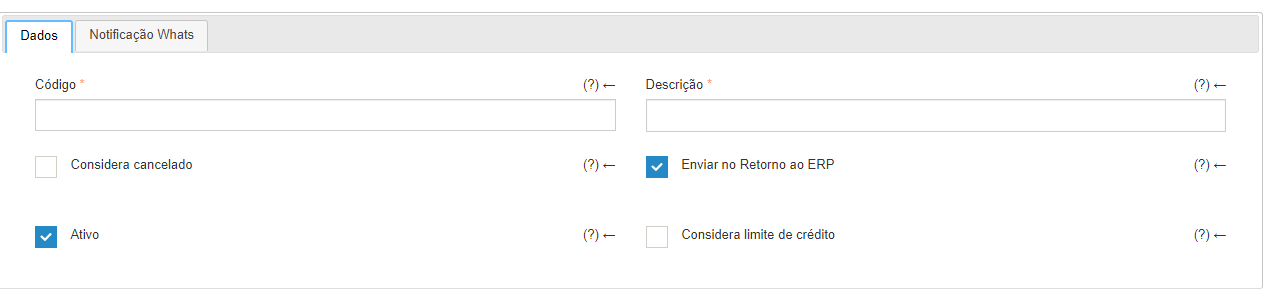
- So that at the end of filling it looks like the image.
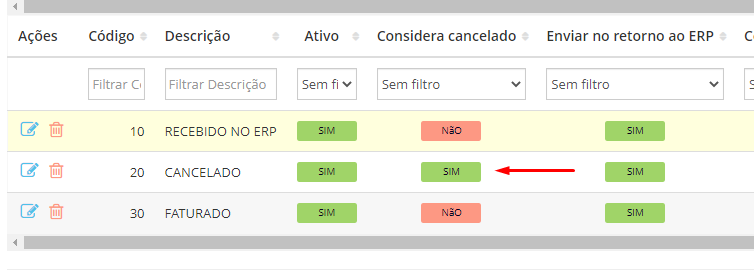
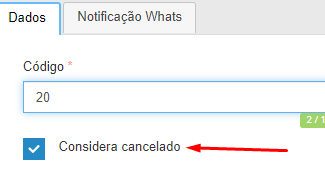
Note: Only when configuring the status ***CANCELED (code 20)***leave the option Consider canceledas shown in the image selected.
To perform data synchronization with Omie:
Section titled “To perform data synchronization with Omie:”Data synchronization with Omie occurs automatically every hour, if the automatic sending and searching fields are selected in the integration settings. You can also perform a search or send the buttons manually.
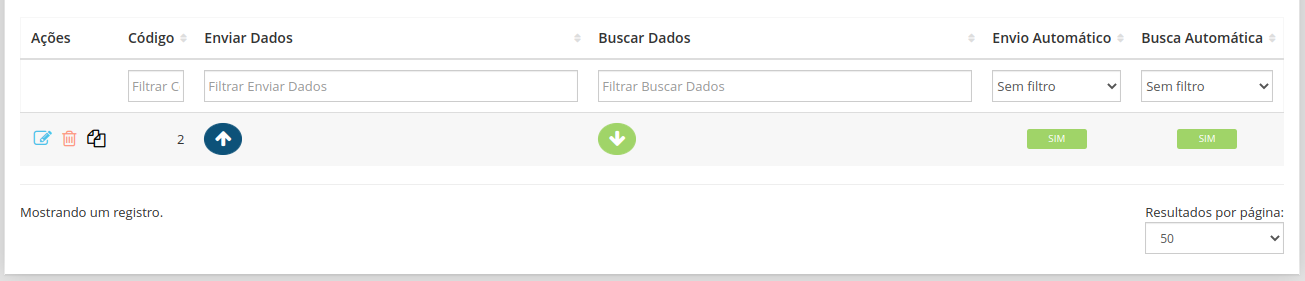
Additional Configuration for Send or Search:
Section titled “Additional Configuration for Send or Search:”When sending, only records created or modified in Demander after the last sending date will be sent. Likewise, when performing the search, only records created or changed in Omie after the last search date will be returned. If there is any specific need, both the ‘Last search date’ and ‘Last submission date’ fields can be cleared, so that all records can be searched or sent.